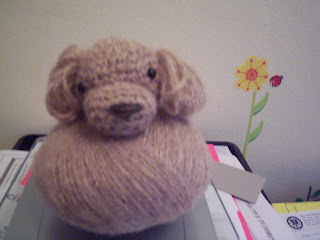
This is only a demonstration. It's not instructions, per se, for attaching safety eyes. Use caution if you are considering this method.
The tools needed: 1) round nose pliers and 2) regular household pliers
I purchased my round nose pliers at a craft store. You can find these in jewelry tool sets as well. Round nose pliers can be used to stretch a very tight safety part without comprimising safety. By pushing the part to the bottom of the nose of the pliers it will stretch it slightly.
I use the help of the regular household pliers to get the part down the nose far enough.
I let it sit for most of the day. Since these pliers have two noses you can do 2 eyes at a time.
Next time in Part II of "How I Fit Tight Safety Eyes for Dolls", I remove the part from the round nose using regular pliers and immediately attach it to my amigurumi. Using a combination of regular pliers and my fingers this helps to force this stubborn part.


